
-
Short Allocation/Full Pick
Short Allocation/Full Pick
The allocation process partially allocates less than the ordered quantity. There are no pick exceptions - meaning you were able to pick the quantity allocated.
Order
Line No.
Product
Ordered Quantity
Allocated Quantity
Picked Quantity
1
1
sku1
2
1
1
Short allocation means that during the allocation process, the application could only partially find some available product inventory, but not all, to fulfill an order line item. There are two (2) reasons as to why this may happen.
1. You do not have enough available inventory for a given product.
2. There may be products just received in the receiving dock but have not been put away into inventory locations to make them available for allocation.
To remedy this situation, you may have to:
1. Putaway received product awaiting in the receiving dock.
2. Unallocated some other lower-priority orders to make those product inventory available for this order then allocation this order again.
Let's confirm that we do have inventory for sku1 in the warehouse. Select Inventory > Inventory > Product submenu to display the List - Product Inventory page.
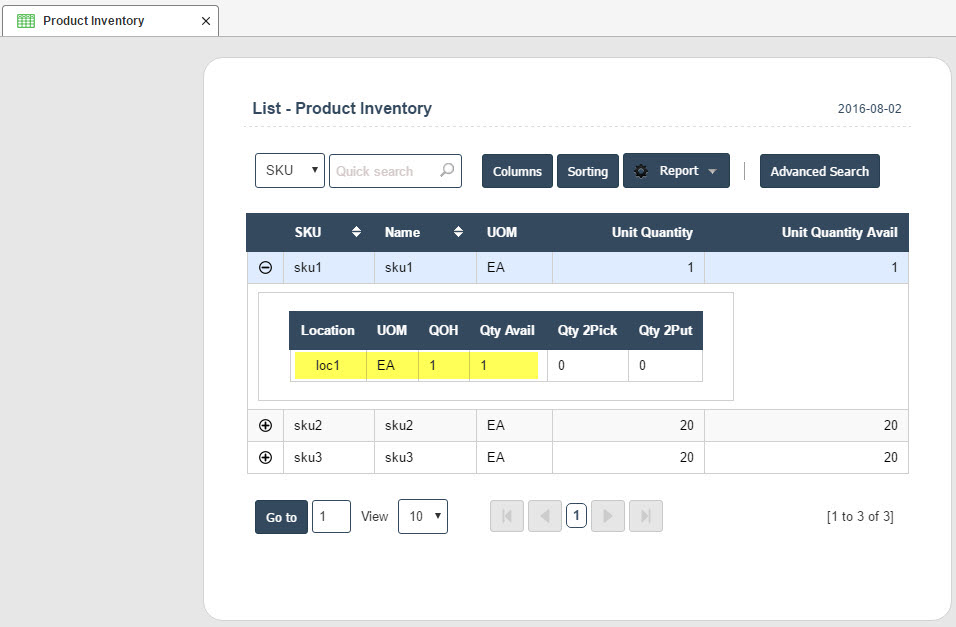
As we can see in the List - Product Inventory page above, we have one (1) unit of sku1 on-hand and available at location loc1.
Let's create an outbound order, namely, so003, that has one (1) detail line for two (2) units of sku1. This way, we basically simulate a condition where the order would be shipped short. Select Outbound > Order to display the List - Sales Order page then click on the Add New button to create.
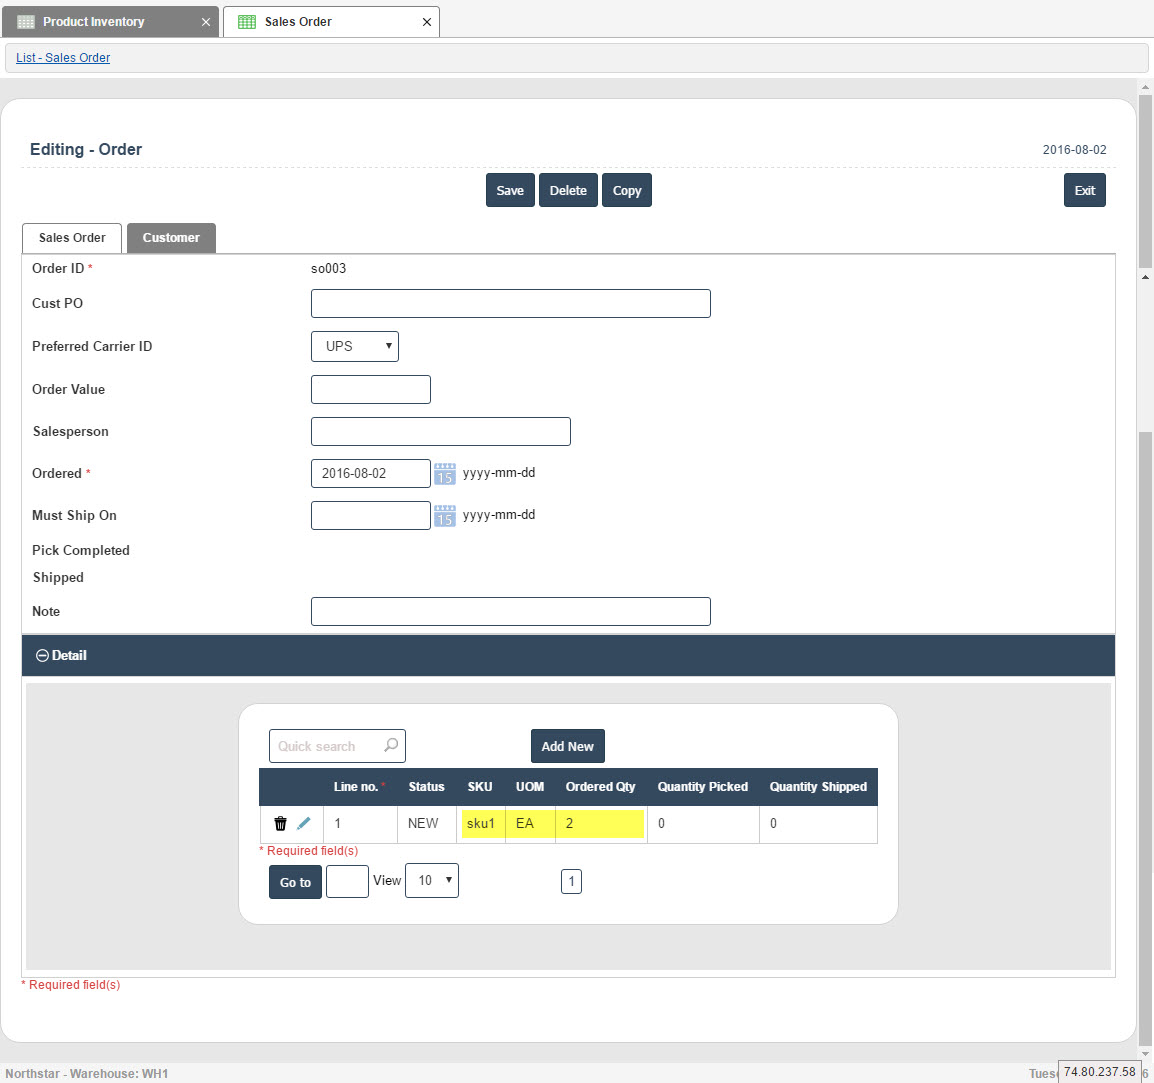
The newly created order, so003, should have at least one (1) detail line item for two (2) units of sku1 as shown above.
The List - Sales Order page displays the newly created order so003 with a status of NEW.
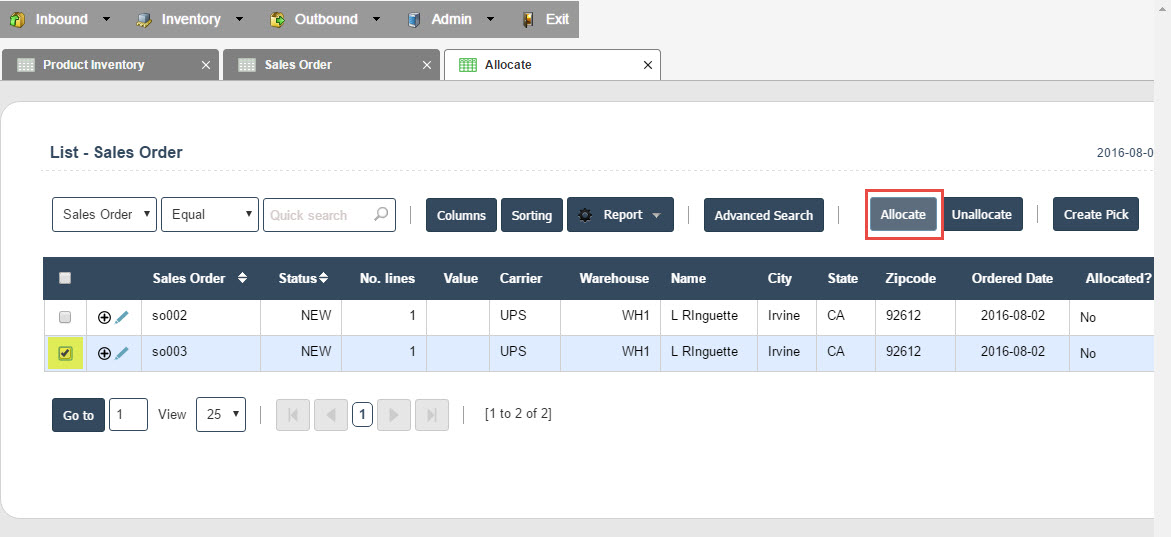
Select order so003 by click on the
 selection box then click on the Allocate button to allocate inventory to the order. The List - Sales Order page now show that the status for order so003 is now ASSIGNED and the Allocated? field indicated that it has been allocated (Yes).
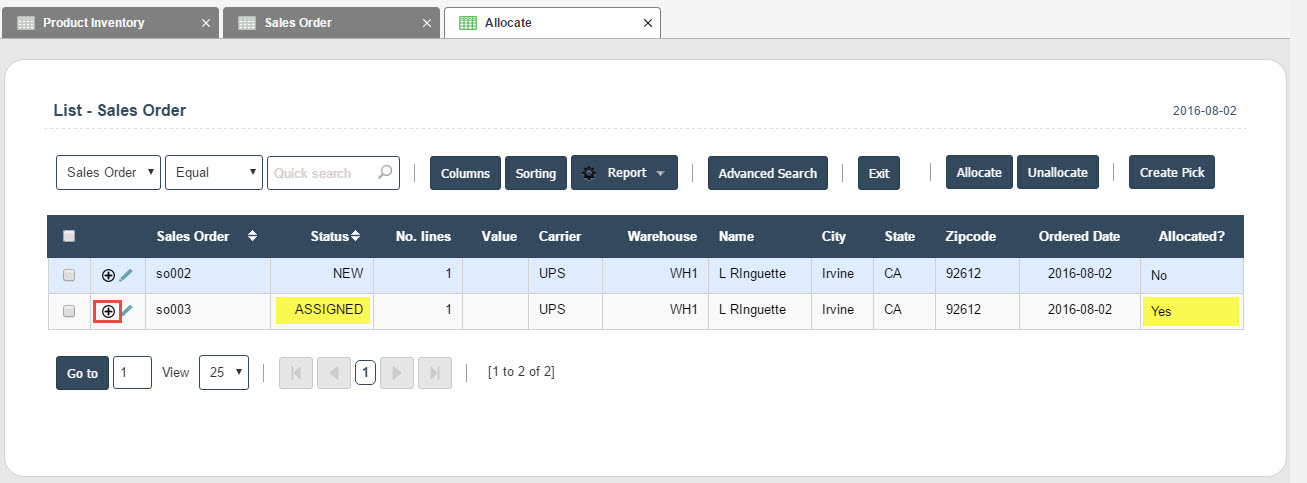
Click on the plus
 icon to expand the allocation window.
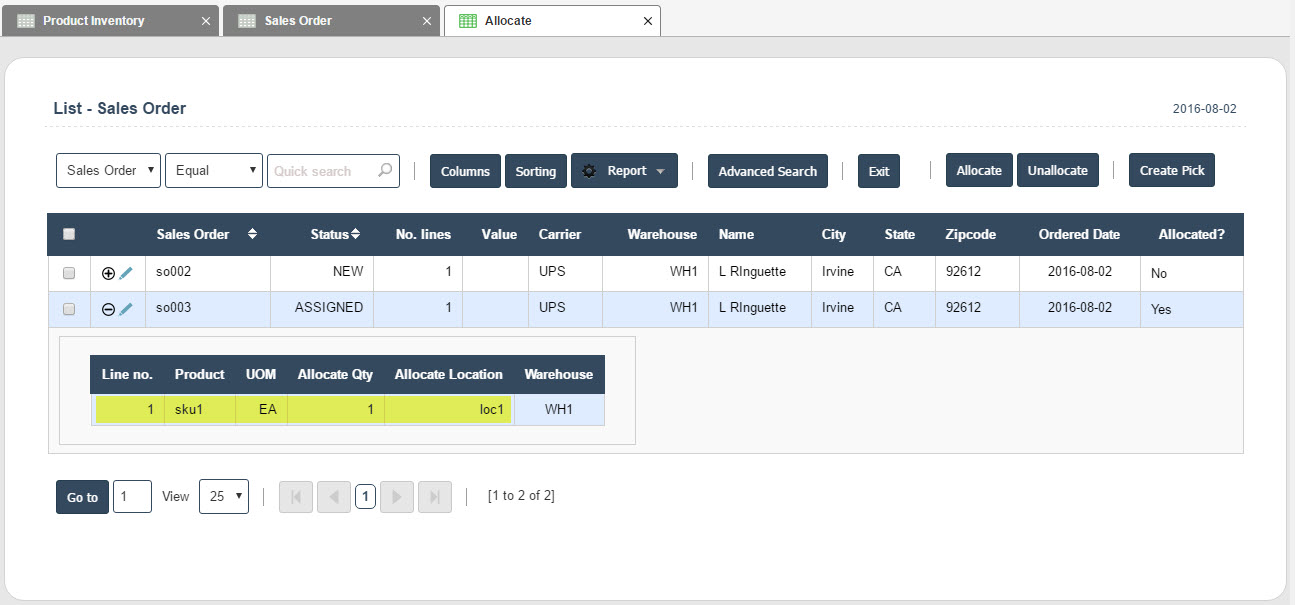
The allocation window for order so003 shows that for detail line one (1), which requires two (2) units, the application has reserved one (1) unit of sku1 at location loc1.
Let's confirm that by selecting Inventory > Inventory > Product submenu to display the List - Product Inventory page.
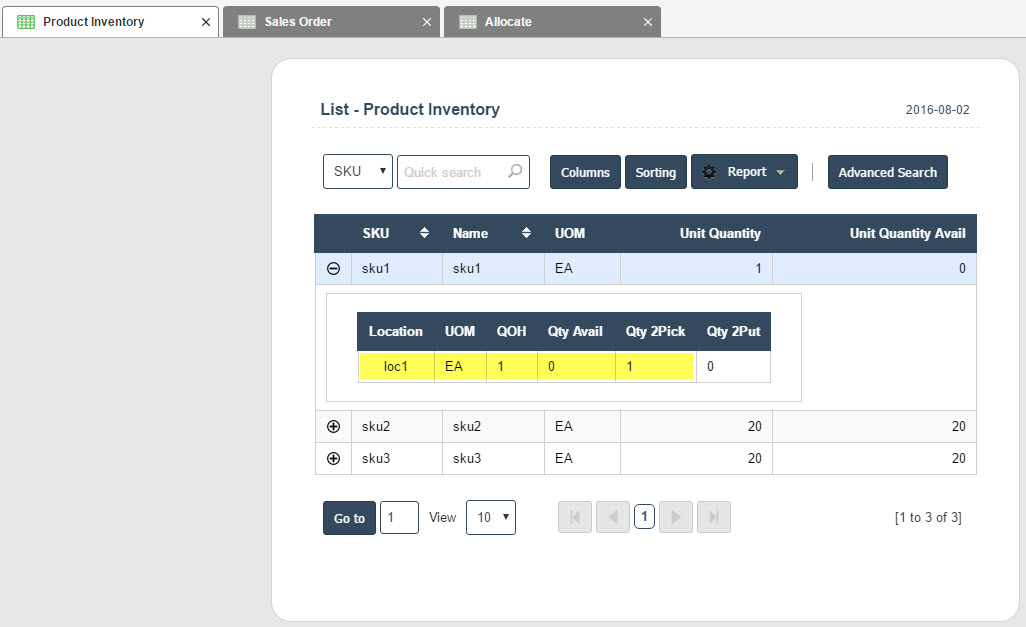
As we can see in the List - Product Inventory page above, we still have one (1) unit of sku1 on-hand at location loc1 but the quantity available is now zero (0) as one (1) unit of sku1 has been allocated to detail line one (1) of order so003.
Since that is all the quantity we have for sku1, let's go ahead and create picks for this order. Select Outbound > Order to display the List - Sales Order page then select order so003 and click on the Create Pick button.

The pop-up confirm window will appear.
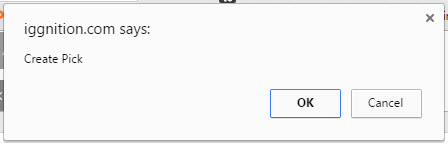
Click the
 to confirm.
The List - Sales Order page redisplays but the sales order so-003 is no longer appeared as it has been pick generated.

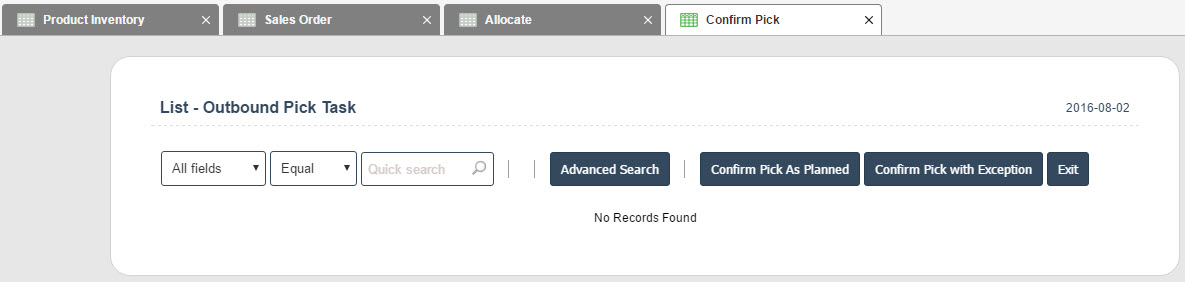
Let's us confirm the pick by selecting Outbound > Process > Confirm Pick submenu. The List - Outbound Pick Task page will appear.

Select the pick task ( for one unit of sku1 at location loc1) using the
selection box then click on the Confirm Pick As Planned button.The pick task is now confirmed as planned and disappear from the List - Outbound Pick Task page as shown below.
When we first look at product inventory earlier, we know that we had one (1) unit of sku1 at location loc1. Now that the product has been picked, let's take a look at product inventory again to see where the product actually resides at. Select Inventory > Inventory > Product Inventory to display the List - Product Inventory page.

Note that sku1 is no longer at location lco1 but at DEFAULT OUT LOC location. DEFAULT OUT LOC location is the default location for picked inventory.
Let's also look at the sale order by select Outbound > Sales Order to display the List - Sales Order page.
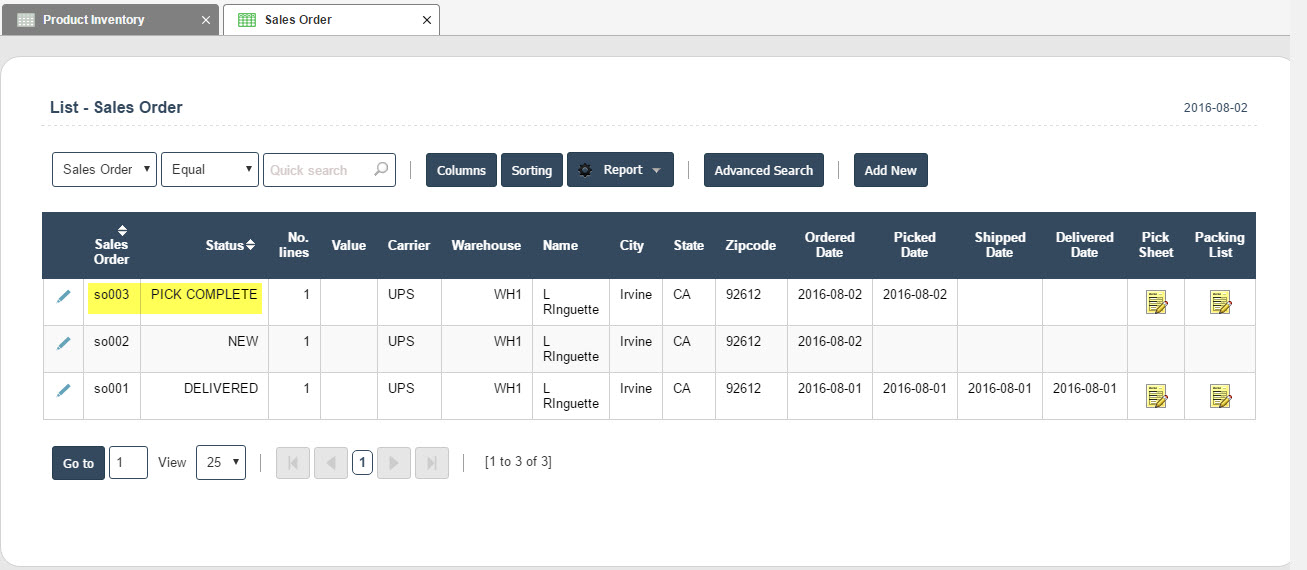
The sales order so003 is now at PICK COMPLETE status as shown above.
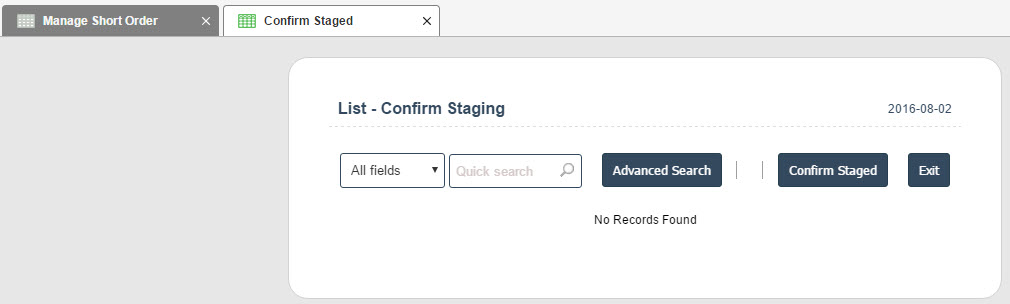
The next step is to stage the order at the shipping dock. Select Outbound > Process > Confirm Staged to display the List - Confirm Staging page.
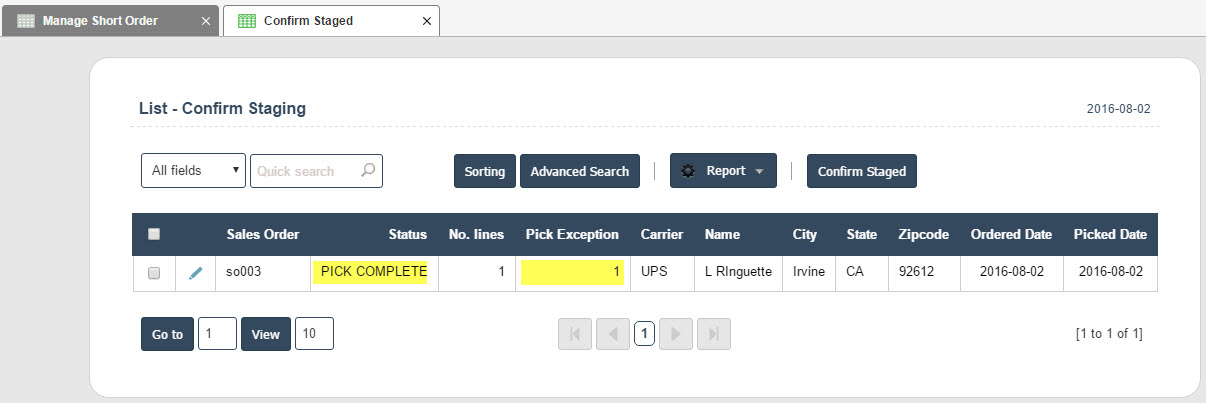
Select the sales order using the
selection box then click on the Confirm Staged button to proceed.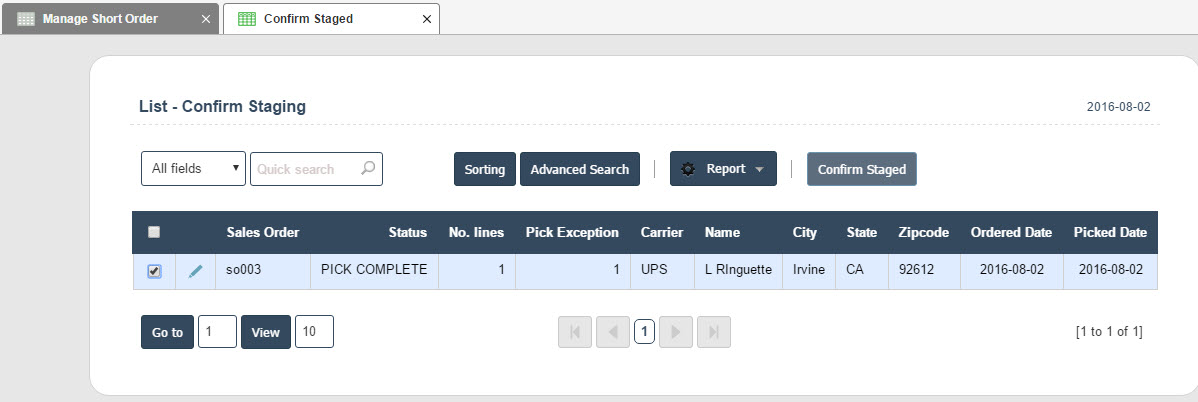
The following pop-up confirmation window appears.
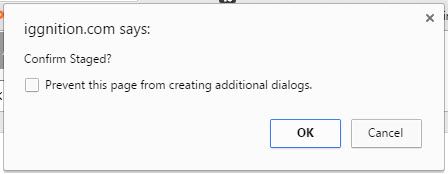
Click the
button to confirm.The List - Confirm Staging page is redisplayed and sales order so003 is no longer displayed.
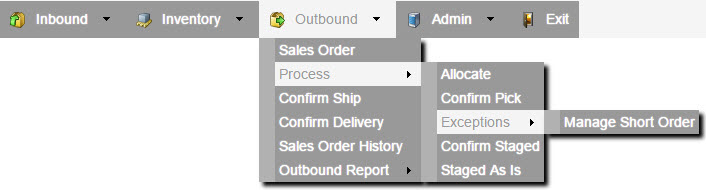
Now that the order is staged, the next step should be to ship the order. However, since this order is short (ordered 2 but picked only 1 of sku1), we need to perform a management acknowledgment that the order is shorted and we want to ship the order as short. To perform the management short order acknowledgment, select Outbound > Process > Exceptions > Manage Short Order to display the List - Manage Short Order page.
The List - Manage Short Order page will appear.
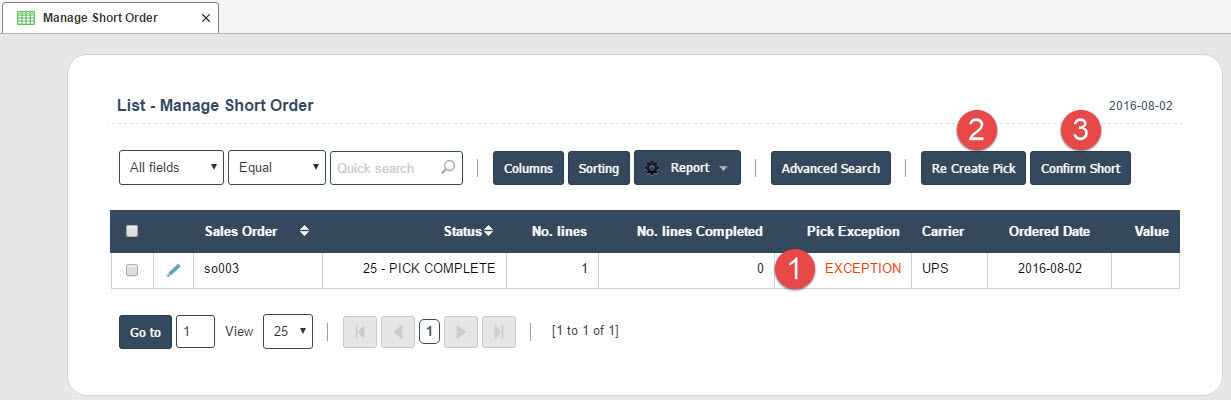
 Pick Exception field: This field displays whether there is a pick exception.
 Re Create Pick button: Use this button if you know there there are available inventory that has been just received and put away or that has just been unallocated from some other orders.
  Confirm Short button: Use this button to acknowledge that the order is going to be shipped short.
Select the sales order using the
selection box then click on the Confirm Short button to proceed,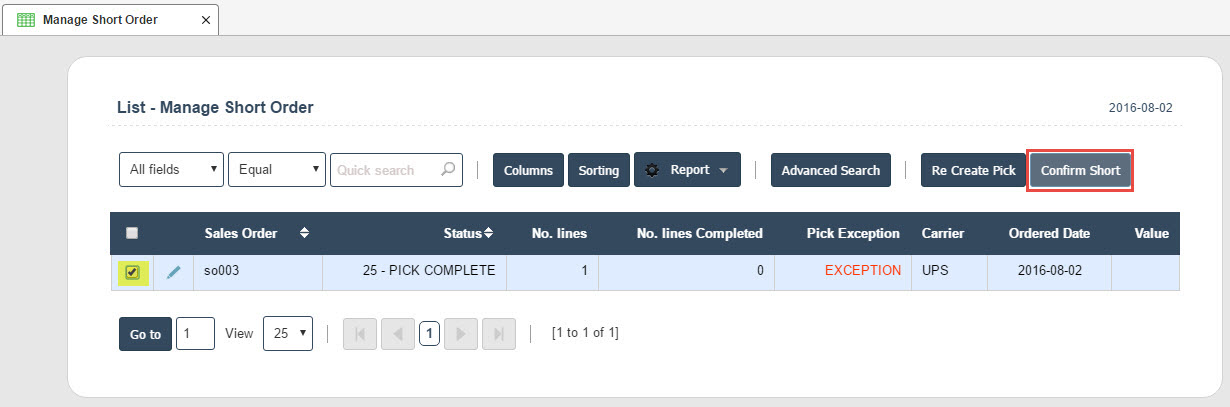
The following pop-up will appear.
Click on the
button to confirm.The List - Manage Short Order page is redisplayed but the sales order so003 disappears.

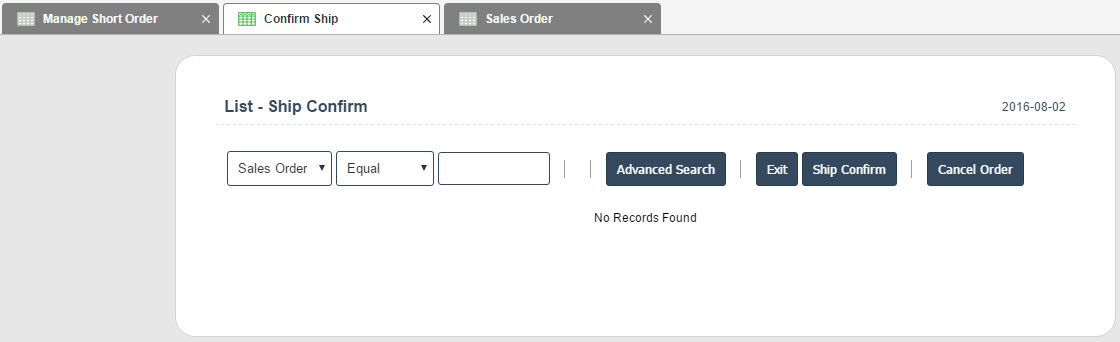
We are now ready to ship the shorted sales order so003. Select Outbound > Confirm Ship submenu to display the List - Ship Confirm page.
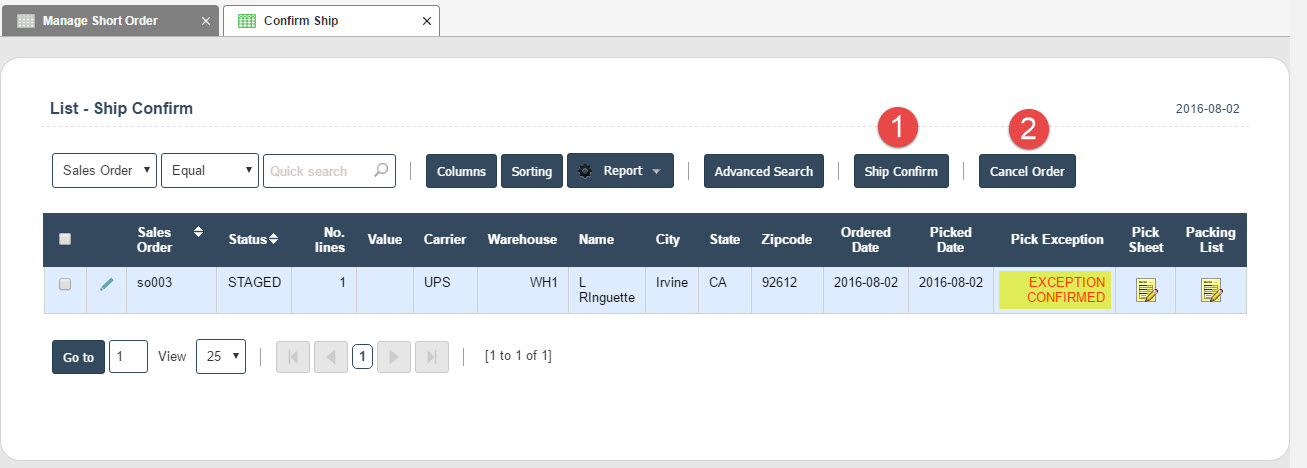
Note the the sales order so003 has the phrase "EXCEPTION CONFIRMED" in bold red lettering to denote that there is exception with this order.
Ship Confirm button: Use this button the confirm shipment of the shorted order.Cancel Order button: Use this button the cancel the short shipment and return picked inventory to the warehouse.Select the sales order using the
selection box then click on the Ship Confirm button to ship the order.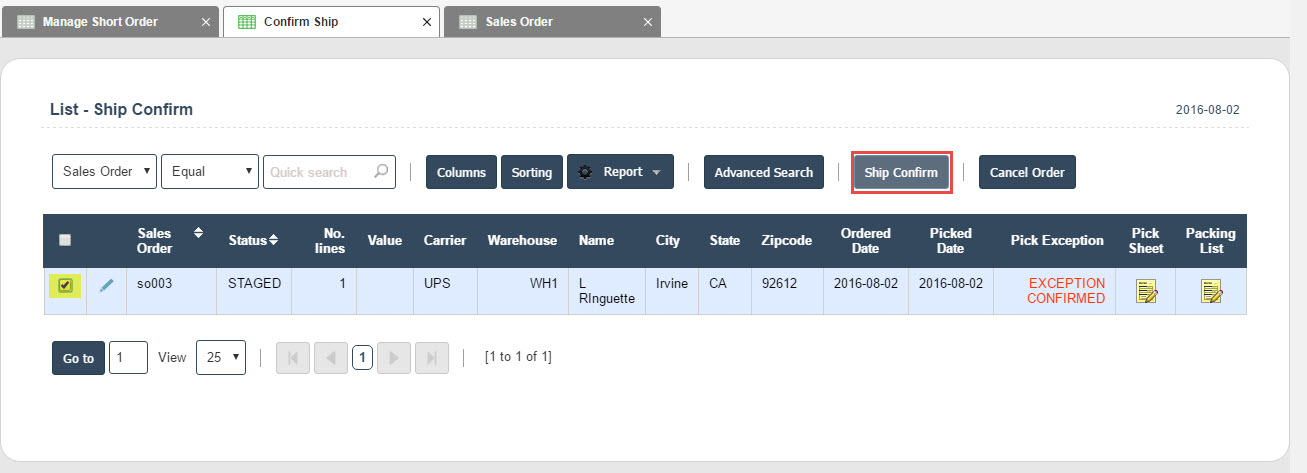
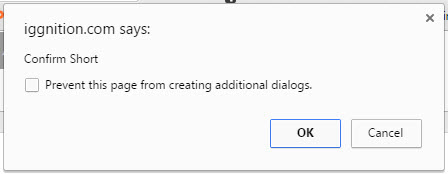
The following pop-up windows will appear.
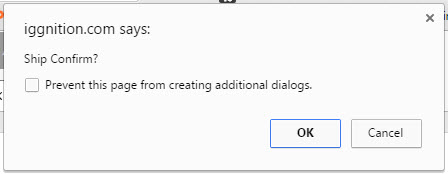
Click on the
button to proceed.The List - Ship Confirm page is redisplayed but the sales order so003 disappears.
Now, you can confirm delivery of the shorted order as outlined under the Confirm Delivery for Outbound Order section.
Short Allocation/Full Pick